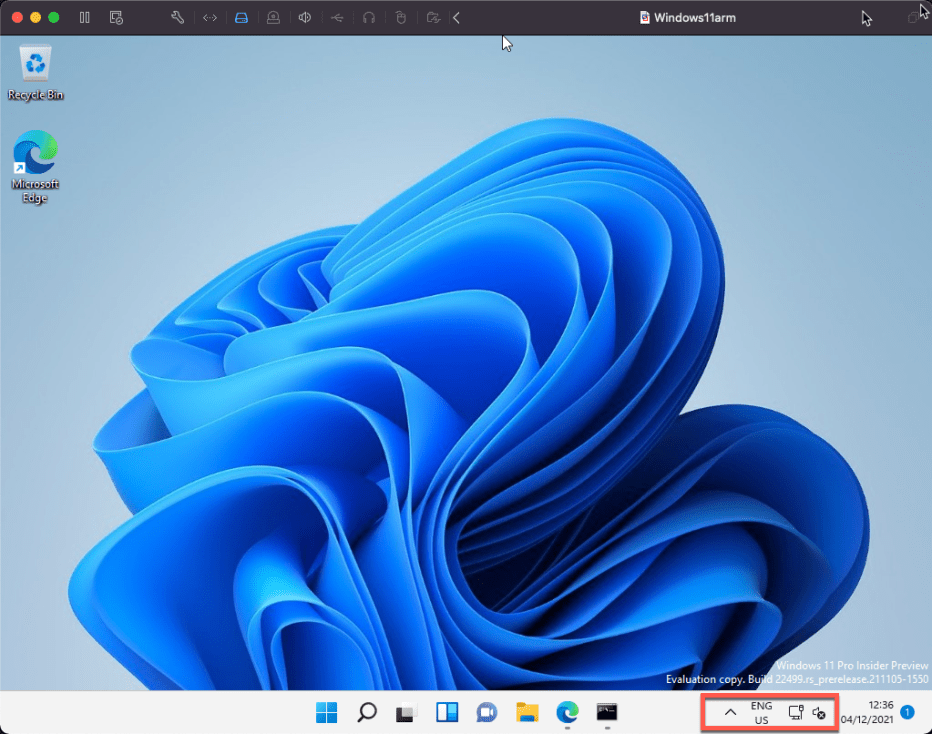
In the past I’ve been using VMware Fusion for running a small lab on my laptop for testing etc. This always worked like a charm. Recently I switched over from a Windows laptop (x86) to a Apple MacBook Air (m1). I really love the device but found that VMware Fusion wasn’t available for m1 chipset. Via twitter I found that there is a public beta running for VMware Fusion on the m1 chipset and I was really interested in how this would work. So I signed up and this is wat I discovered about the public beta.
VMware Fusion beta
So first things first downloading the beta can be done here
You can find more on the roadmap for VMware Fusion on this blog
It works on macOS Montery and after installation you can create a Linux ARM based VM with
- FreeBSD,
- Debian,
- Fedora,
- Ubuntu,
- The VMware Photon OS
- Or an other Linux template

This works as expected and is blazing fast!
Limitations
- At the moment you can only run Linux OS on VMware Fusion. Windows ARM is not supported. (because there is no windows ARM license available for use on Apple Silicon)
- VMware isn’t planning on adding support for x86 VMs on Mac with Apple Silicon
- macOS VMs are not in scope for the short term.
- GPU rendering inside the VM is done via the CPU (as far as i can tell from testing with YouTube inside the VM)
Can you run Windows 11 inside VMware Fusion?
Short answer yes, but it’s not supported by VMware or Microsoft and network connectivity is an issue.
Step by step guide
This is a step by step guide i used to get it running.
Download the windows 11 arm template here:
Default Microsoft gives you a VHDX file which is not compatible with VMware Fusion (or ESXi for that matter). So you can use Qemu-img to convert the disk to a VMDK.
You can download the tool here.
After downloading you can run the tool from inside the unzipped folder. for converting VHDX to VMDK you can use a syntax similar to this:
| qemu-img convert -f vhdx -O vmdk -o adapter_type=lsilogic e:\disk1.vhdx e:\disk1.vmdk |
Small rundown of the command line:
| part | explanation |
| convert | convert the image (you can also create, compare, check or commit an image) |
| -f | is the source format in this case vhdx |
| -o | is the destination format in this case vmdk |
| adapter type | inject a compatible harddiskcontroller |
After that copy the .vmdk file to your MacBook and create a new VM inside VMware Fusion.


Click on finish to complete the configuration.


After booting the VM and answering some startup questions you are greeted with a Windows 11 interface but without network connectivity.

Fixing the Network connectivity issue
Shoutout to the guys at Reddit and especially bumwarrior69 for figuring this out, read the thread here.
To fix the connectivity issue you can follow this step by step guide.
Open CMD (as admin):
Type
| “bcdedit /debug on” |
Open control panel, then select Device Manager:
Device Manager > Other Devices > Ethernet Controller > Update Driver > Browse my computer for drivers > Let me pick from a list of available drivers on my computer > Network Adapters > Microsoft > Microsoft Kernel Debug Network Adapter.
In CMD type:
| bcdedit /dbgsettings net hostip:xxx.xxx.xxx.xxx port:yyyyy” |
What this does is configuring the Windows 11 arm VM to use an Ethernet connection for debugging and specifies the IP address of the host (Mac m1) computer. The command also specifies a port number that the host computer can use to connect to the target computer. This gives the Windows 11 Arm VM connectivity to the host.
If you need any information about bcdedit, you can read this article: https://docs.microsoft.com/en-us/windows-hardware/drivers/devtest/bcdedit–dbgsettings

After running these commands reboot the VM.
You will be asked by your Mac device that a service would like to monitor traffic and you have to allow it by logging in as admin.
after rebooting and logging in you will see your Windows 11 arm VM has a network connection :-).

In my case it’s configured for NAT translation via the host so you will see a different IP address inside the VM.

hope this helps someone!
Disclaimer
For me this was just something I wanted to test. Because VMware and Microsoft do not support this please do not use this in production. Just use it for playing around with the VMware Fusion product and test Windows 11 arm in your own lab/test environments.
